
Tile installation is an art. It will take several years before one can boldly say, “I am a professional tiler.” To become a professional tiler, one must have passed through series of pieces of training. I mean training not just in the head but practical. However, to start this journey, the first thing one must be conscious of is getting some tools ready. However, installing a herringbone pattern is a little bit different from others. It requires more cutting of tiles than any other pattern of tiling.
With that in mind, here are lists of tools one must have before installing a herringbone tile pattern.
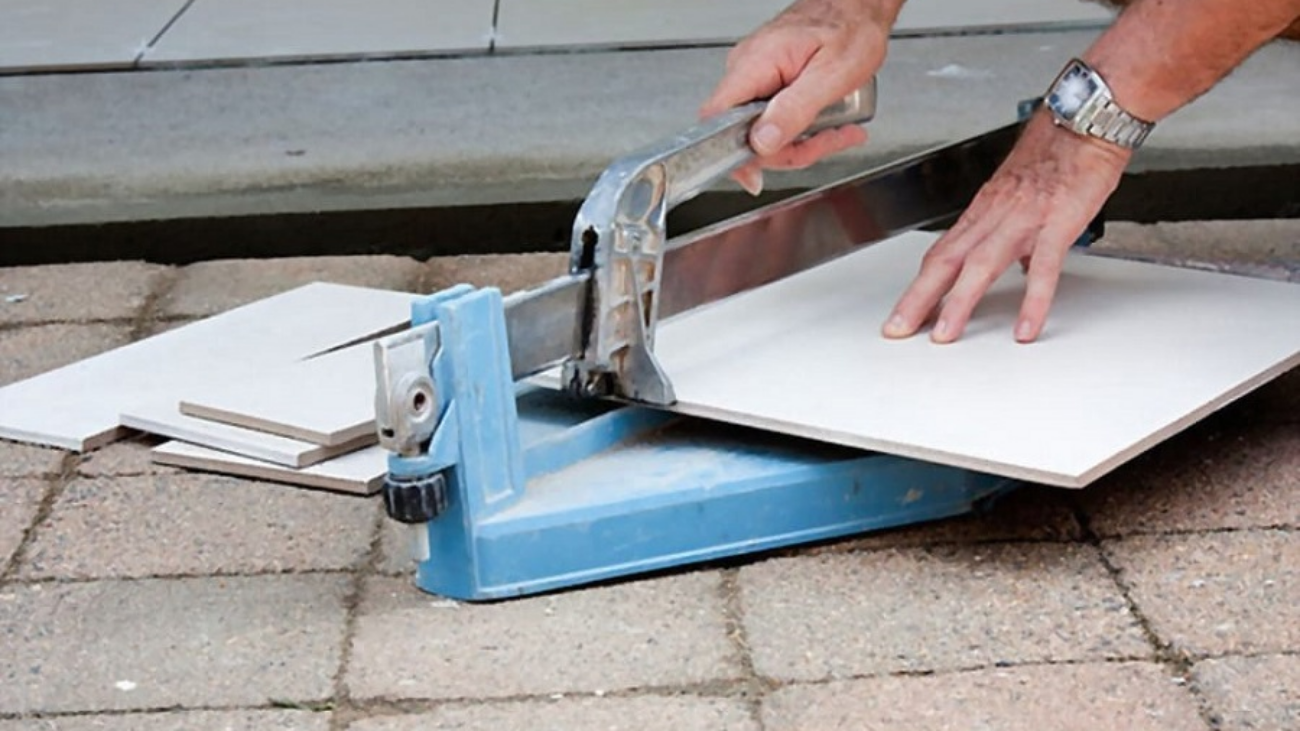
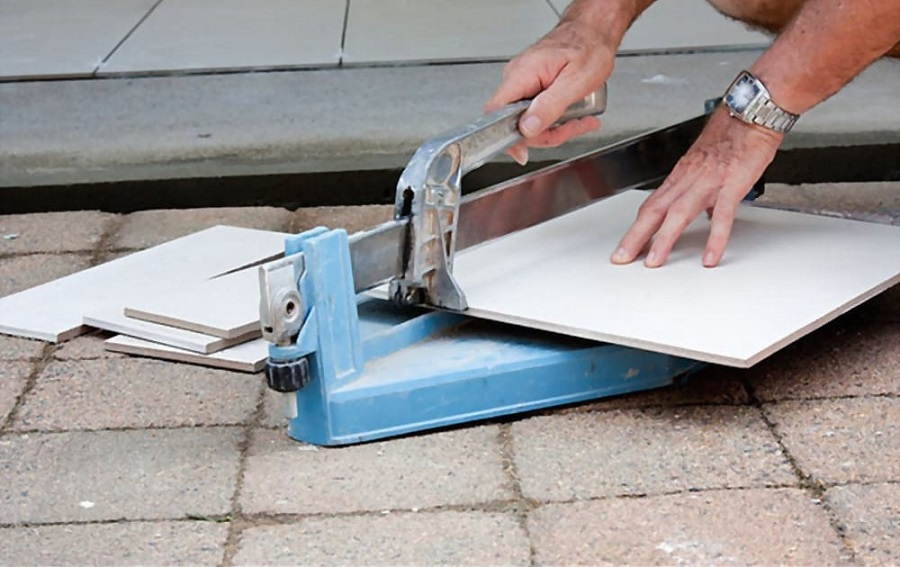
- Tile cutters: You will need an excellent manual tile cutter to You will need a perfect manual tile cutter to achieve a well-fitted herringbone tile on either walls or floors. A tile cutter is used to cut tiles into pieces. In installing herringbone tiles, a tile cutter is an essential material needed to cut tiles into rectangular pieces. One of the reasons you must use a tile cutter is that it is only a tile cutter that can cut your tiles according to the measurement you need. It is expedient for you to know that you need to mark your tiles with a pencil after measuring them before placing them on a tile cutter to do the smooth cutting. Therefore, the first tool that you’ll need to install a stunning herringbone pattern is a tile cutter.
- Diamond drill bits: At some point, you might realize that you need to drill a hole into the tiles to solve pipes, drainers, or tap connection finishings. Don’t forget that drilling tile requires mathematical accuracy and high-quality tools to ensure that you only want to break through the surface without cracking it.
A drill bit kit is a vital tool in installing a herringbone floor tile pattern, especially if you’re working with different tile materials. It would be best if you found drill bits with diverse diameters so that you will be able to cut holes of various sizes through granite, porcelain, or marble tiles. Also, ensure that the tool has lateral openings that can improve the cooling of the drill bit. The lateral opening will facilitate the removal of residues after each drilling. And this will make the installation process to be smooth and fast.
- Tile mortar mixer: if you want to install a herringbone tile pattern on the wall or floor, you will need a tile mortar mixer. This is one of the vital tools that you must get to install herringbone tile patterns. However, this unique tool will make the entire process more accessible and help you get a strong bond. And with that, you can have a long-lasting installation. Also, tile mortar mixers are available at various speeds and motors that are faultlessly suited for mixing types of cement, paints, resins, adhesives, and other materials.
- Rubber bucket: People overlook this tool as though it isn’t worth what they should focus on. One of the essential tools for tiling is the rubber bucket. A rubber bucket can be used to mixed mortar. It must be a rubber bucket and not a plastic bucket because rubber buckets are easier to clean than plastic buckets. It doesn’t matter if the mortar mixed in the rubber bucket is completely dry; it will still take less time to clean it than a plastic bucket. Apart from that, rubber buckets are durable and versatile. They are stackable and don’t take much space. However, rubber buckets vary in size. Ensure to buy them in different sizes.
- Tile trowels: Herringbone tiles need to be fixed on the surface with a cement-based mortar. It would be nice for you to level the mortar to make the tiles adhere as even as possible to the wall or floor. A tile trowel also varies in size. Therefore, when choosing a trowel, make sure that you are selecting the right size that will give you proper coverage. Also, ensure that the trowel you wish to use is not heavy but sturdy to facilitate the mortar mix application. It is a must to pay attention to the shape of the trowel because this can determine the ease with which the tile is embedded fully to the thin-set.
- Rubber grout float: There’s no how one will install a herringbone tile pattern without grouting. Without grouting, the wall or floor will look uneven and unfinished. The work of the grout is to fill the spaces between the tiles and then lock them together. A rubber grout is a suitable tool for grouting when you want to install a herringbone pattern. It consists of a sturdy and yet flexible rubber pad that is connected to a C-shape handle. However, while choosing a rubber grout float, ensure that you pick the one that will deliver the best finish.
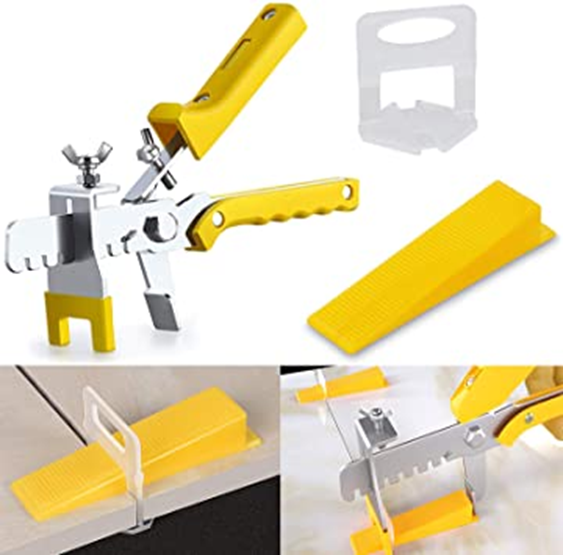
- Tile spacers: A few years ago, tilers used rope, screws, and nails to keep tiles at a set distance from each other when they wanted to install tiles. But now, things have changed. Tile spacer is used nowadays to obtain the perfect spacing between tiles. Are you worried about where to get a tile spacer that will improve your installation process? Of course, you can check Rubi tools for a twin flex tile spacer. Therefore, if you want to install a herringbone tile pattern for your clients successfully, you must consider getting a suitable tile spacer.
- Knee pads: This unique tool will be helpful for you when you want to install herringbone tile on floors. Floor tiling requires spending much time kneeling so that one will be able to place the tiles properly one after the other. Therefore, it would be nice to get a knee pad to prevent your knees from getting damaged. Not only that, a knee pad will help you to feel comfortable while kneeling to lay your tiles.
CONCLUSION
To install a herringbone tile pattern that will look stunning, one needs to get all the above-listed tools. You can check online stores for these materials.